Showing posts with label holidays. Show all posts

Monday, June 16, 2014

Scuba diving the Maldives


Jerome-- Sorry for the long delay in posting. I accidentally went snorkeling with our camera in my pocket and we're still tring to figure out if we can recover our pictures from Indonesia.  We'll post something about that later.

We had originally planned to visit Bangkok for about a week, but we decided to change our plans because of the coup, curfew and protests.  AirAsia also canceled our flight to Bangkok. And we also wanted to try to do some more diving.


We searched for last minute deals on a liveaboard and found a great one in the Maldives on a boat called the Maldives Aggressor.  Maldives is definitely farther afield then we were planning on going, but we also found cheap, direct flights from Singapore.

The Maldives Aggressor
The Maldives Aggressor is a 115ft diesel and sail powered yacht.  We had a completely full boat with 20 guests and a double contingent of crew (half the crew was being trained).  Guests came from all around the world - Australia, Germany, USA, Russia, Switzerland.

Selfie with our safety sausage

We did 21 dives over the 7 days, including 4 night dives.  Laura and I have now completed 67 dives (63 dives since we started our trip in April) and we've logged a total 56 hours and 42 minutes underwater!  We also did our Nitrox certification before we went, which allowed us to use tanks filled with 32% oxygen (rather than regular air which has 21% oxygen).  This lets us dive for a longer time at a deeper depth without having to worry about getting "the bends".

Maldives anemonefish in a magnificent sea anemone
Diving in the Maldives was fantastic!  One of the night dives we did at an underwater pinnacle had circling sharks, giant moray eels out of their holes, huge sting rays feeding, and a highly venomous stonefish camouflaged on the sea floor.  Another dive was with the huge, graceful manta rays. Another with a 6m - 8m whale shark.  During one of the night dives, Laura and I found an octopus out hunting.  Previously we'd only seen then hiding in little holes, but this one was swimming across the reef and camouflaging itself as it went.  Very cool to see.  Below are some pictures taken using our new underwater camera housing - if you want to see more check out our album.

Manta Ray and its accompanying remoras

Lion fish - beautiful, but poisonous

Snorkeling with a whale shark

Octopus

Stonefish

Eagle ray

Whitetip reef shark
Diving is surprisingly tiring, especially since we start the day at 6am.  Usual day went something like: wake up at 6am, eat something small, first dive, breakfast, second dive, lunch, third dive, snack, night dive, dinner, bedtime. Basically we just ate and dove all day long.  The chef on the boat was great - always preparing an amazing spread from the tiny little kitchen. My favorite was the Sri Lankan lunch which had some really nice and spicy curries.


Our first liveaboard was a great experience and we'd love to do another in the future.  Our trip is coming to an end - we're off to Cambodia tomorrow and then it's Hong Kong and back home in early July.  Time's really been flying by!

All the guests from our liveaboard


Sunday, April 6, 2014

ATVing around the Mayon Volcano

Jerome -- We did more than just eat spicy food in Legazpi (although Laura was a huge fan of the chili ice cream).

We rented ATVs and did a 2 hour ride to the lava flows from 2006 eruption.  We rented the bigger 350cc ATVs.  They were very comfortable. The peak of the volcano is often obscured by clouds, but we were lucky enough to have a clear view - quite spectacular!  It is said that Mayon is one of the most symmetrical volcanos.


When we reached the peak, we had fresh coconut water.  Once we were done the water, they split the coconuts for us and fashioned a spoon from the husk in order to eat the meat.  Very refreshing after all that time in the sun!


Our guide was really proud of his 'trick shots'.  Here's a couple of his best:


All-in-all, a very fun afternoon ATVing!

Tuesday, December 31, 2013

Happy New Year!

Jerome and I would like to wish you a very Merry Christmas and a wonderful New Year to come! We've been very fortunate and had a wonderful year. We hope to have more fun travel and culinary adventures to share with you in the year to come! Thanks for taking the time to read our posts and for all the lovely comments we get! We were lucky to have a week visiting in New York City just before Christmas, and are currently enjoying spending the holidays with our families in Ottawa. We're looking forward to posting about that soon!

Happy New Year!

Tuesday, October 29, 2013

Barcelona


We arrived in Spain early in morning of October 28th (last year). Our total mileage driving in Spain was 2576km!! !We dropped off our rental car, and had a few hours to kill before we could get into our Airbnb Apartment.  Our hosts had emailed us some restaurant recommendations, and so we walked to one of the places, called Cafe Federale. There was a line outside, but we decided to go for it, and we happened to get the last table for two! The food was great, Jerome had a breakfast burger and I had breakfast tacos! After that we headed to our apartment, and met up with the nice guy who was running the airbnb. The cleaning person hadn't come, so he let us in, and set to cleaning while we went out to explore. We spent the day wandering around the city. We walked down to the waterfront and through the gothic quarter.  

We found the Cerveseria Moritz and decided it would be a great place for dinner. They had really good and interesting beer selections, and excellent food and mussels. We had a lovely evening at the brewery! The next day we slept in, did some laundry and relaxed a bit in the morning. We found an Indian restaurant for lunch with a really tasty lunch special. We walked all the way to the Sagrada Familia, but found out they were sold out of tickets for the day so decided to go back tomorrow. We went to Olympic Park right on the water, and wandered around for the rest of the afternoon. We enjoyed the Moritz brewery so much, we went back for dinner again! 

The next morning we got up and walked all the way to the Sagrada Familia. But the lines were very long, and we found out we could pre-buy tickets online and print them the next day, so we opted to go back yet again tomorrow. Instead we decided to see another of Gaudi's works - Casa Batllo. It is a really cool building in the middle of a block of regular buildings, that Gaudi designed for a family who lived there in 1904. It really stands out! 

There is hardly a straight line in the entire building! The windows, walls, ceilings, everything is curved. He even designed and built furniture to match it. The upper floor is all built with Gaudi's Catalan arches. You could even go up to the roof which looks a bit like a dragon with scales (see first picture at the top). It was really interesting seeing such a different kind of architecture. Just after we left, we got caught in a crazy rain storm. The rain was coming down the hardest I think I ever remember seeing! We ran into a little bar and waited it out for a while with a drink, then headed for a typical Barcelona dinner at Senyor Parellada, of fish stew and paella. We then walked home in the much softer rain, and had to dry our clothes!

Having finally got our tickets, we were up early the next morning to walk back to Sagrada Familia and finally got to see it all! It was a beautiful day, and the cathedral is spectacular! It's been in the works for over 100 years, and still has at least 10 left before it is done. It is gorgeous though. Each face of it, is a different style and represents something different. We spent 6 hours just walking around, looking at everything, taking tons of pictures. You can see all the rest of the photos here.


The interior was just as spectacular as the outside, with crazy mathematically designed arches that branch out from themselves, and amazing stained glass work. We also got to go up one of the towers and got a great view of the city, and the building from up top. 

One of my favourite things was the display in the basement of all the design drawings and models that were done and built to figure out how to build it and make it look. It was really neat seeing initial sketches and then being able to see the finished sculpture up on the wall. 

By the time we were done, it was almost dark, so we grabbed a coffee and waited for the sun to set the rest of the way, and then spent some time doing some night photography of the Sagrada Familia. They do a great job of lighting it up at night, so it was really fun. 

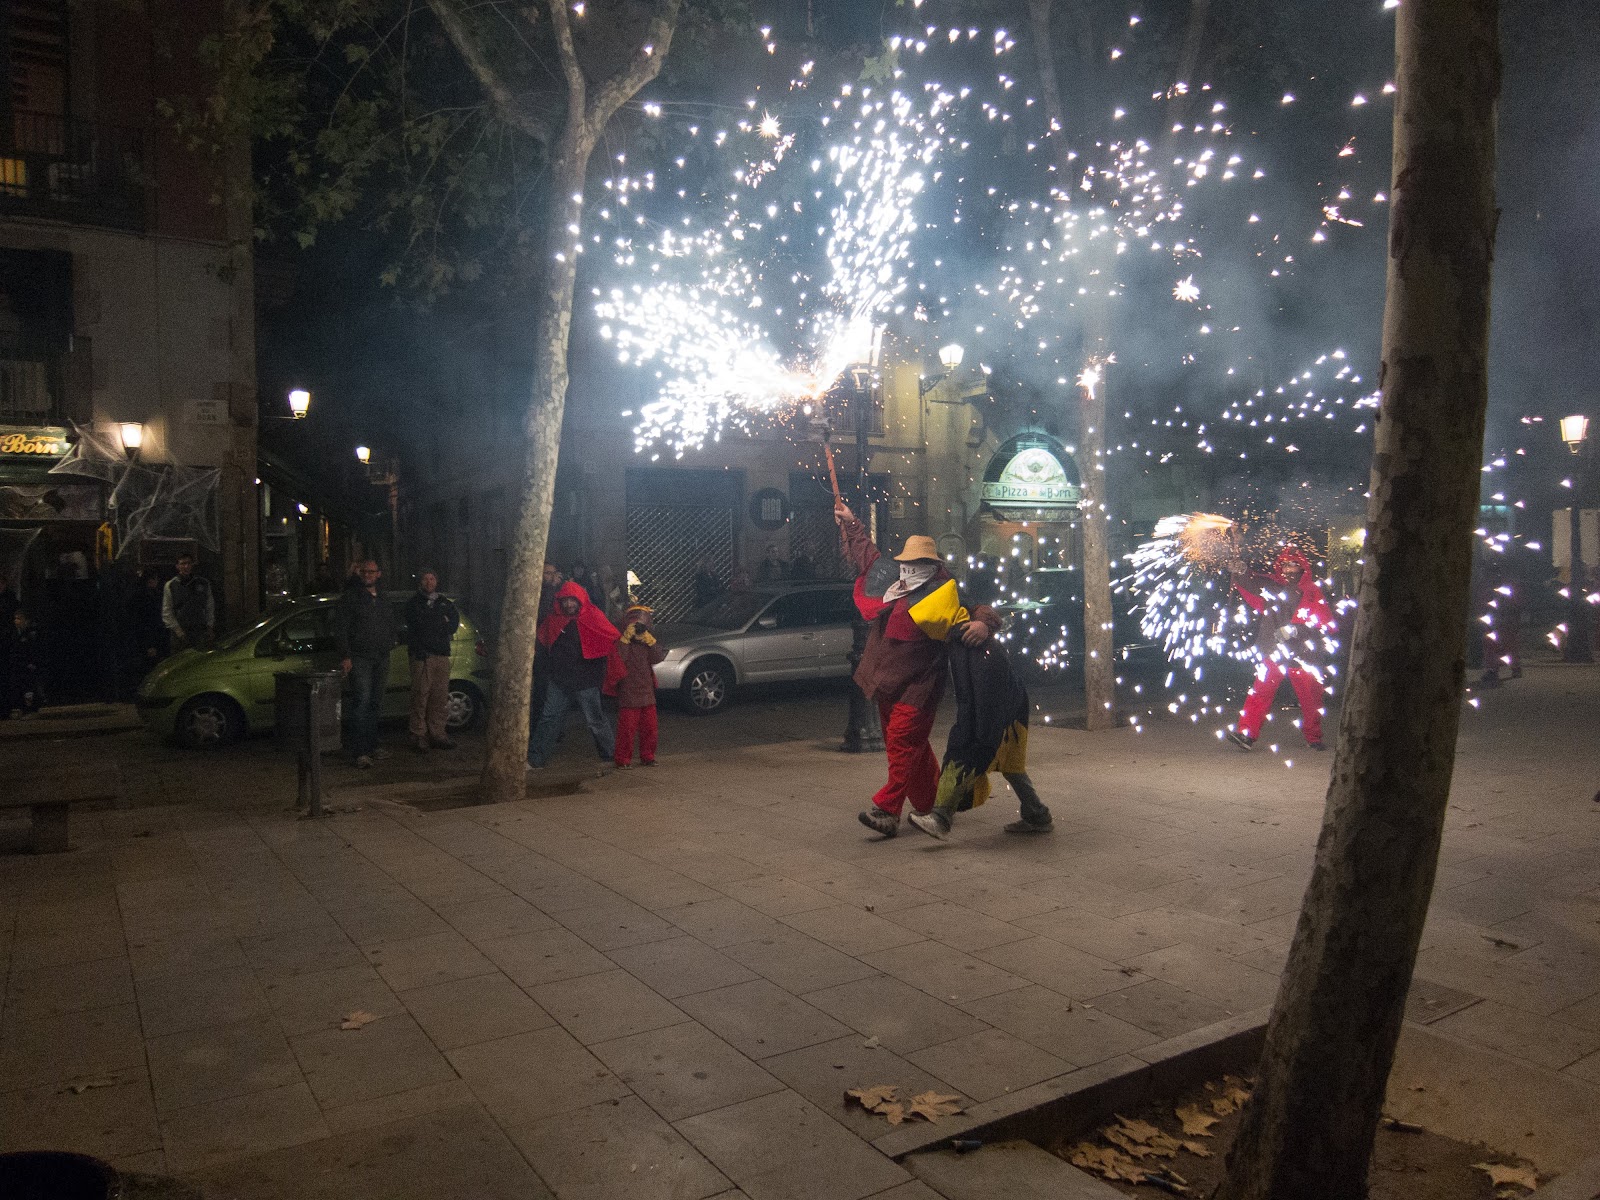
We headed back to the Gothic quarter to find some dinner, and got drawn in by what sounded like fireworks going off. We followed our ears, and were treated to an amazing show for the evening. It was October 31 and All Hallow's Eve. A big group of adults and children were all dressed up in yellow or red and black tunics. Each person carried a stick with a nail and a clothespin on it. One of the adults would put a firecracker on the nail and then the clothespin on top to stop it from flying off. Another adult would then light the crackers one by one, as groups of children and adults skipped down the street waving and twirling their sticks. It looked like so much fun! We took a bunch of videos trying to capture it all. This one is pretty representative of the chaos and fun! It was an amazing end to our stay in Barcelona. The next morning we headed off to Sweden! But more of that in the next post.

Saturday, June 16, 2012

Maple Sandwich Cookies

For the past few Canada Days and a few instances in between, I've taken to making these Maple Sandwich cookies. Last year I had to make two batches in two weeks so that everyone that was asking for some could get some. They're a bit time consuming and require planning ahead, but are definitely worth it! They're from the Complete Canadian Living Baking Book, but here's the basic rundown.

For the dough:
1 cup softened butter
1 cup firmly packed brown sugar
1/4 cup maple sugar 
1 egg
1 tsp maple extract
3-1/4 cups all purpose flour
1/2 tsp baking powder
1/2 tsp salt

For the Filling:
1/4 cup softened butter
2 cups icing sugar
2 tbsp whipping cream
2 tsp maple extract

You will need the dough to chill for at least an hour, before you roll and cut out and bake. You can make the dough itself up to a day ahead though. Just make sure you have an hour or so the next day to do the rolling and cutting and baking. 

Beat the softened butter with the brown sugar. I use our stand mixer for this, it saves on the elbow grease. Stop when it gets fluffy. Add in the 1/4 cup Maple Syrup - preferable the really good Canadian stuff! I've gotten a can in my Christmas stocking the past few years to ensure I have a stock for these cookies! Also add the egg and the maple extract. This is a bit tricky to find, but look near the vanilla in the grocery store. I've actually only found "Maple Flavouring" but I assume its the same. Beat all of those together. 

Mix together the flour, baking powder and the salt and add to the rest of the ingredients in 2 steps to make it easier. It'll make a nice smooth dough. Split it in two and flatten it if possible - this makes the rolling easier. Wrap it up in ceran wrap and chill for at least an hour - up to a day. 

Preheat your oven to 350 degrees and line some baking sheets with parchment paper. then start rolling out the dough. The recipe suggests to roll it between wax paper - this sort of helps, but is a bit of a pain, especially as the dough will be tough since it's cold. Don't worry this is the hardest part, just bear with it, and use those muscles!! Roll about 1/8-1/4" thick, and cut with a cookie cutter - maple leaves are very fitting, but they theoretically taste the same even if they are just circles. Keep rolling the scraps until you make as many cookies as you can. You can score the leaves with a knife to emulate the veins (not shown in this batch). Place on the baking sheet and bake spread out in the oven for 10-12 minutes - until golden brown like in the picture above. Transfer to racks to cool. 

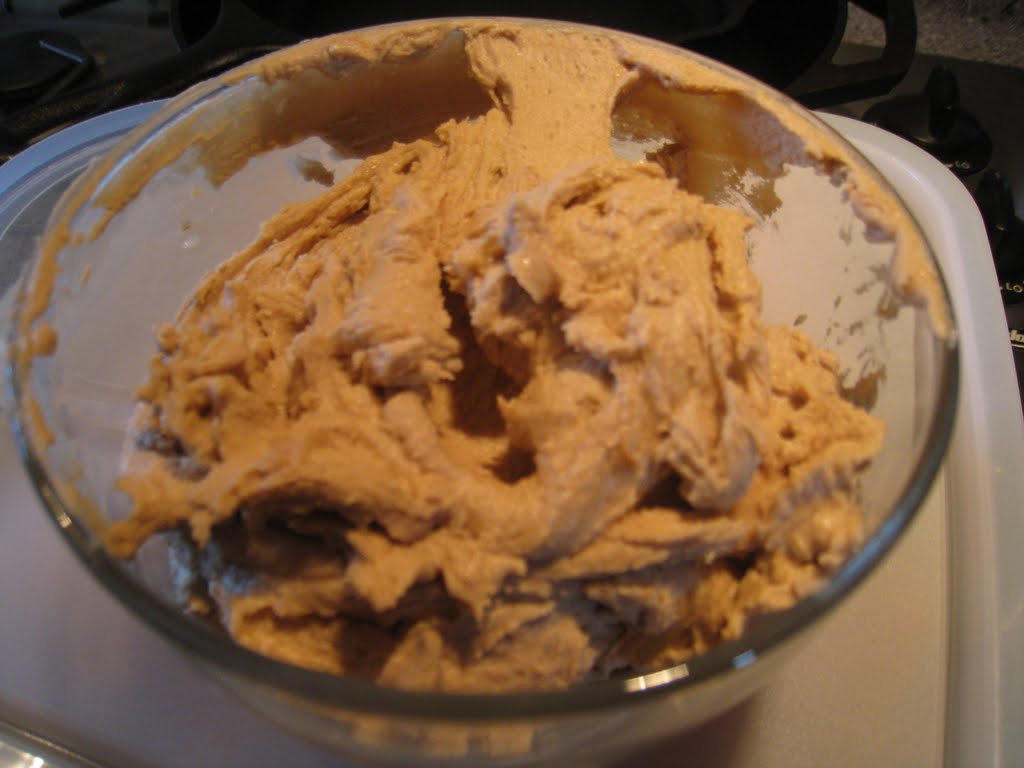
At some point either when you're waiting for the dough to chill, or the cookies to bake, you can make the icing. Beat the butter and then add in the icing sugar, cream and maple extract. Beat until its smooth and fluffy. The 1tbsp of whipping cream is a pain, but I haven't tested to see what would be different without it yet. 

Next comes the fun part - making the sandwiches! Spread some of the icing between two cookies - about 1 tsp maybe a bit more. Try and get it spread around so you have a good cookie to icing ratio. The cookie cutter I've used in the past is pretty big. I usually only get about 25 very filling sandwiches, so if you want them to go father you might want to get a smaller cookie cutter. I got one this winter, so I'll try it out for this summer's batch. And I posted this a few weeks early so you'd have plenty of time to make a batch for Canada Day!! 


Saturday, January 28, 2012

Cranberry Chocolate Tart

Back at Thanksgiving, I promised a follow up post wherein we detailed the awesome Cranberry Chocolate Tart recipe we found. It takes a bit of pre-planning, but was so light and had just the right amount of sweetness, that it's totally worth the effort. Even after our Thanksgiving meal, everyone managed at least a piece! The original recipe is from Bon Appetit Magazine, but we found it on Epicurious.

http://www.epicurious.com/recipes/food/views/Cranberry-Chocolate-Tart-240427

Here's what you need, and some step by step photos so you can make your own! It seems a bit complicated, but all the individual parts only take a few minutes, you just have to alot for all the chilling time.
There are three components to this dessert: The Crust, The Cranberry, The Filling.

Crust:
1 1/4 cups chocolate wafer cookie crumbs
1/4 cup sugar
1/8 teaspoon salt
5 to 6 tablespoons unsalted butter, melted

     
Preheat the oven to 350. Then pulverize your chocolate graham crackers in the food processor or with a bag and a hammer, or however you so choose to make them crumby. Mix the sugar and salt in with the crumbs. Melt the butter and then pour in of the crumbs and mix it all up until its like that great sand castle sand texture. Then get your trusty springform cake pan, line it with parchment paper if you want to make your life easier, and then pack in the crumb mixture at the bottom. Try and get it flatish on top if you can. A spoon helps with this. Then throw it (gently) into the middle of the oven and bake it for about 15 minutes. You can do this the day before or the day you're making the rest, but make sure it's not still hot when you put the filling on or it will melt!
Cranberry Topping:
1/2 cup cranberry juice, divided
1 teaspoon unflavored gelatin
1 12-ounce bag fresh or frozen cranberries
3/4 cup sugar
2 teaspoons fresh lemon juice
1 teaspoon finely grated lemon peel
1 teaspoon grated peeled fresh ginger
Pinch of salt
4 tablespoons finely chopped crystallized ginger


Put the gelatin in 1/4 cup of your cranberry juice. 
Let it sit there until it gets jellyish. (not jellyfish)
     

Then in a pot, put the rest of the cranberry juice, the cranberries, the sugar, lemon juice, grated ginger and salt and boil it up! 

    
Make sure you stir it so that the sugar will dissolve into the liquid. Then let it simmer for about 5 or so minutes, until the cranberries are soft and plump. 


Strain the berries from the juice and add the gelatin to the juice. Stir away until the gelatin mixture dissolves. Then you can put the cranberries back in. Oh and add the chopped up candied ginger, it makes a huge difference! 


Then let it chill until it gets jello-y at least 8 hours, but you can do it up to 2 days ahead if you're feeling extra on the ball. 

Mascarpone Filling:
1 8-ounce container mascarpone cheese
  • 1/2 cup icing sugar
  • 1/2 cup chilled whipping cream
  • 1 teaspoon vanilla extract
  • Thin strips of crystallized ginger (optional garnish)

  
Mix the marscarpone, icing sugar, whipping cream and vanilla with a mixer of some sort. Just get it thick enough to spread - apparently you can over mix it. You can make this part a day ahead too if you want. 

The Assembly:

Now you have your 3 parts, plus some extra candied ginger.
Guess what comes next?!


Layer them up! Crust, then filling, then cranberries on top! Sprinkle with the ginger if you want it extra gingery. The make sure to put it back in the fridge for a few hours so that it's easy to serve and looks awesomely impressive after dinner.


Remove it from the spring for pan and cut it up into tasty slices!


Enjoy!