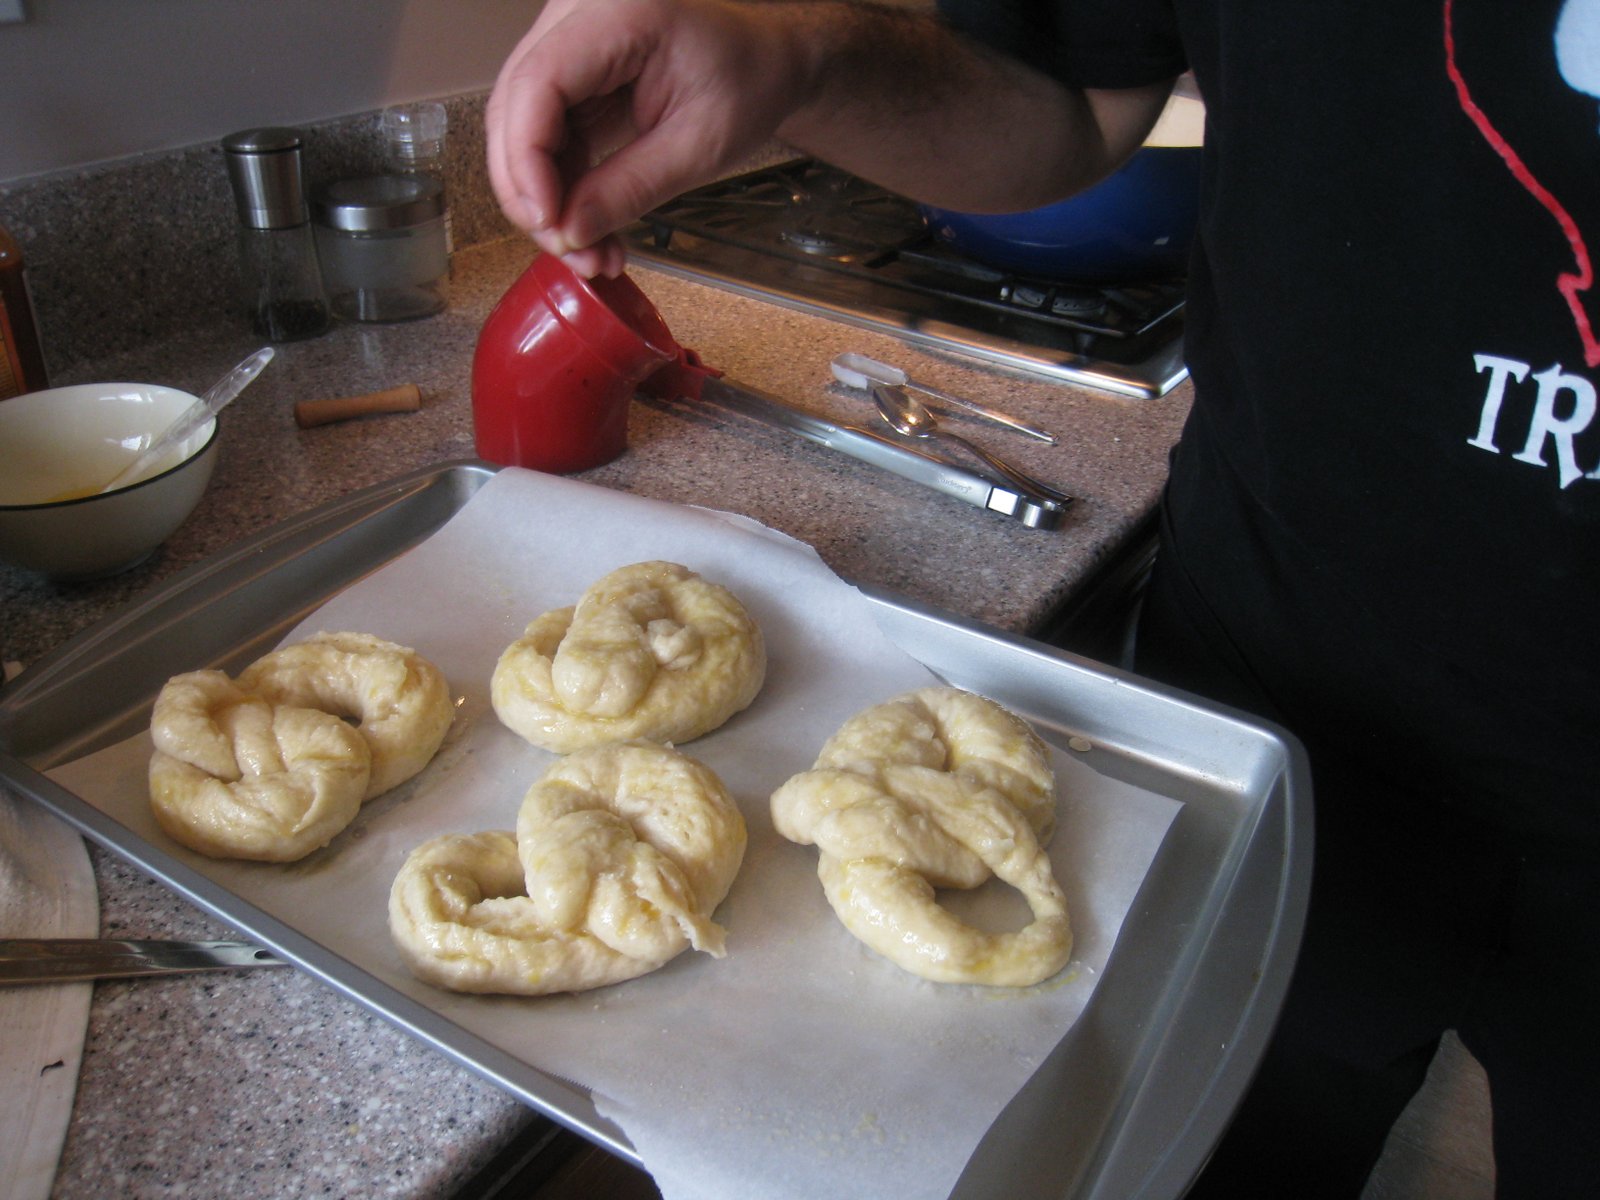
For the dough:
1 cup softened butter
1 cup firmly packed brown sugar
1/4 cup maple sugar
1 egg
1 tsp maple extract
3-1/4 cups all purpose flour
1/2 tsp baking powder
1/2 tsp salt
For the Filling:
1/4 cup softened butter
2 cups icing sugar
2 tbsp whipping cream
2 tsp maple extract
You will need the dough to chill for at least an hour, before you roll and cut out and bake. You can make the dough itself up to a day ahead though. Just make sure you have an hour or so the next day to do the rolling and cutting and baking.
Beat the softened butter with the brown sugar. I use our stand mixer for this, it saves on the elbow grease. Stop when it gets fluffy. Add in the 1/4 cup Maple Syrup - preferable the really good Canadian stuff! I've gotten a can in my Christmas stocking the past few years to ensure I have a stock for these cookies! Also add the egg and the maple extract. This is a bit tricky to find, but look near the vanilla in the grocery store. I've actually only found "Maple Flavouring" but I assume its the same. Beat all of those together.

Mix together the flour, baking powder and the salt and add to the rest of the ingredients in 2 steps to make it easier. It'll make a nice smooth dough. Split it in two and flatten it if possible - this makes the rolling easier. Wrap it up in ceran wrap and chill for at least an hour - up to a day.

Preheat your oven to 350 degrees and line some baking sheets with parchment paper. then start rolling out the dough. The recipe suggests to roll it between wax paper - this sort of helps, but is a bit of a pain, especially as the dough will be tough since it's cold. Don't worry this is the hardest part, just bear with it, and use those muscles!! Roll about 1/8-1/4" thick, and cut with a cookie cutter - maple leaves are very fitting, but they theoretically taste the same even if they are just circles. Keep rolling the scraps until you make as many cookies as you can. You can score the leaves with a knife to emulate the veins (not shown in this batch). Place on the baking sheet and bake spread out in the oven for 10-12 minutes - until golden brown like in the picture above. Transfer to racks to cool.
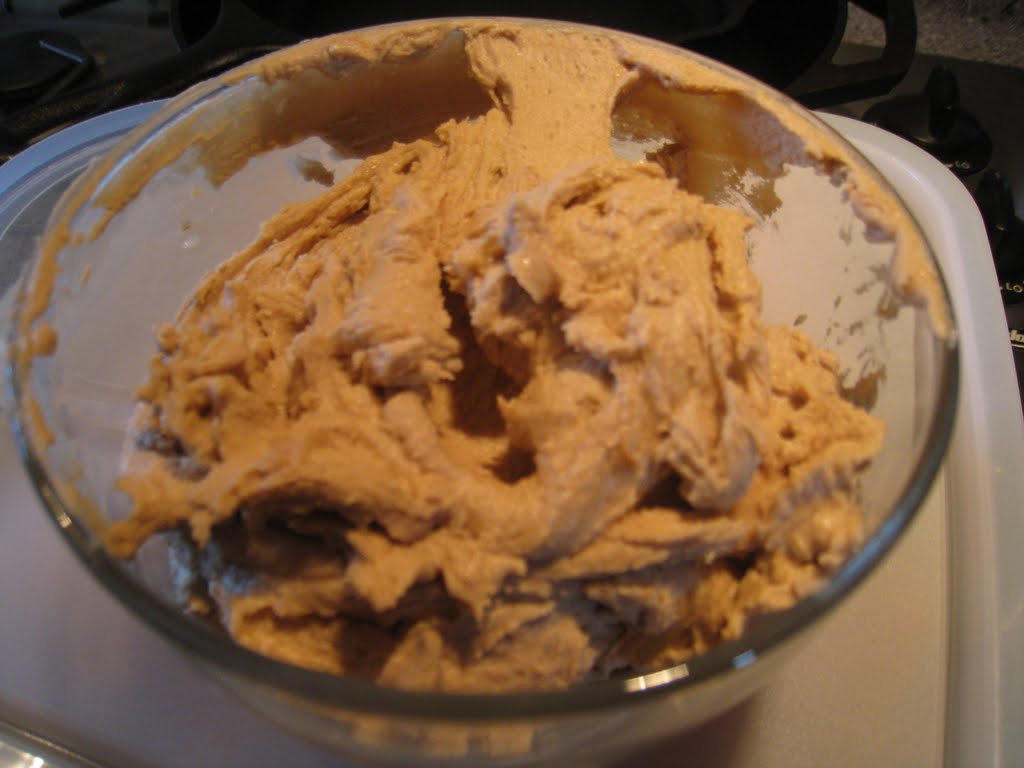
At some point either when you're waiting for the dough to chill, or the cookies to bake, you can make the icing. Beat the butter and then add in the icing sugar, cream and maple extract. Beat until its smooth and fluffy. The 1tbsp of whipping cream is a pain, but I haven't tested to see what would be different without it yet.

Next comes the fun part - making the sandwiches! Spread some of the icing between two cookies - about 1 tsp maybe a bit more. Try and get it spread around so you have a good cookie to icing ratio. The cookie cutter I've used in the past is pretty big. I usually only get about 25 very filling sandwiches, so if you want them to go father you might want to get a smaller cookie cutter. I got one this winter, so I'll try it out for this summer's batch. And I posted this a few weeks early so you'd have plenty of time to make a batch for Canada Day!!